


Chapters
Animations are a must-have in today's web development, as they elevate UX and project quality. Learn about Framer Motion, a powerful React library for animations.
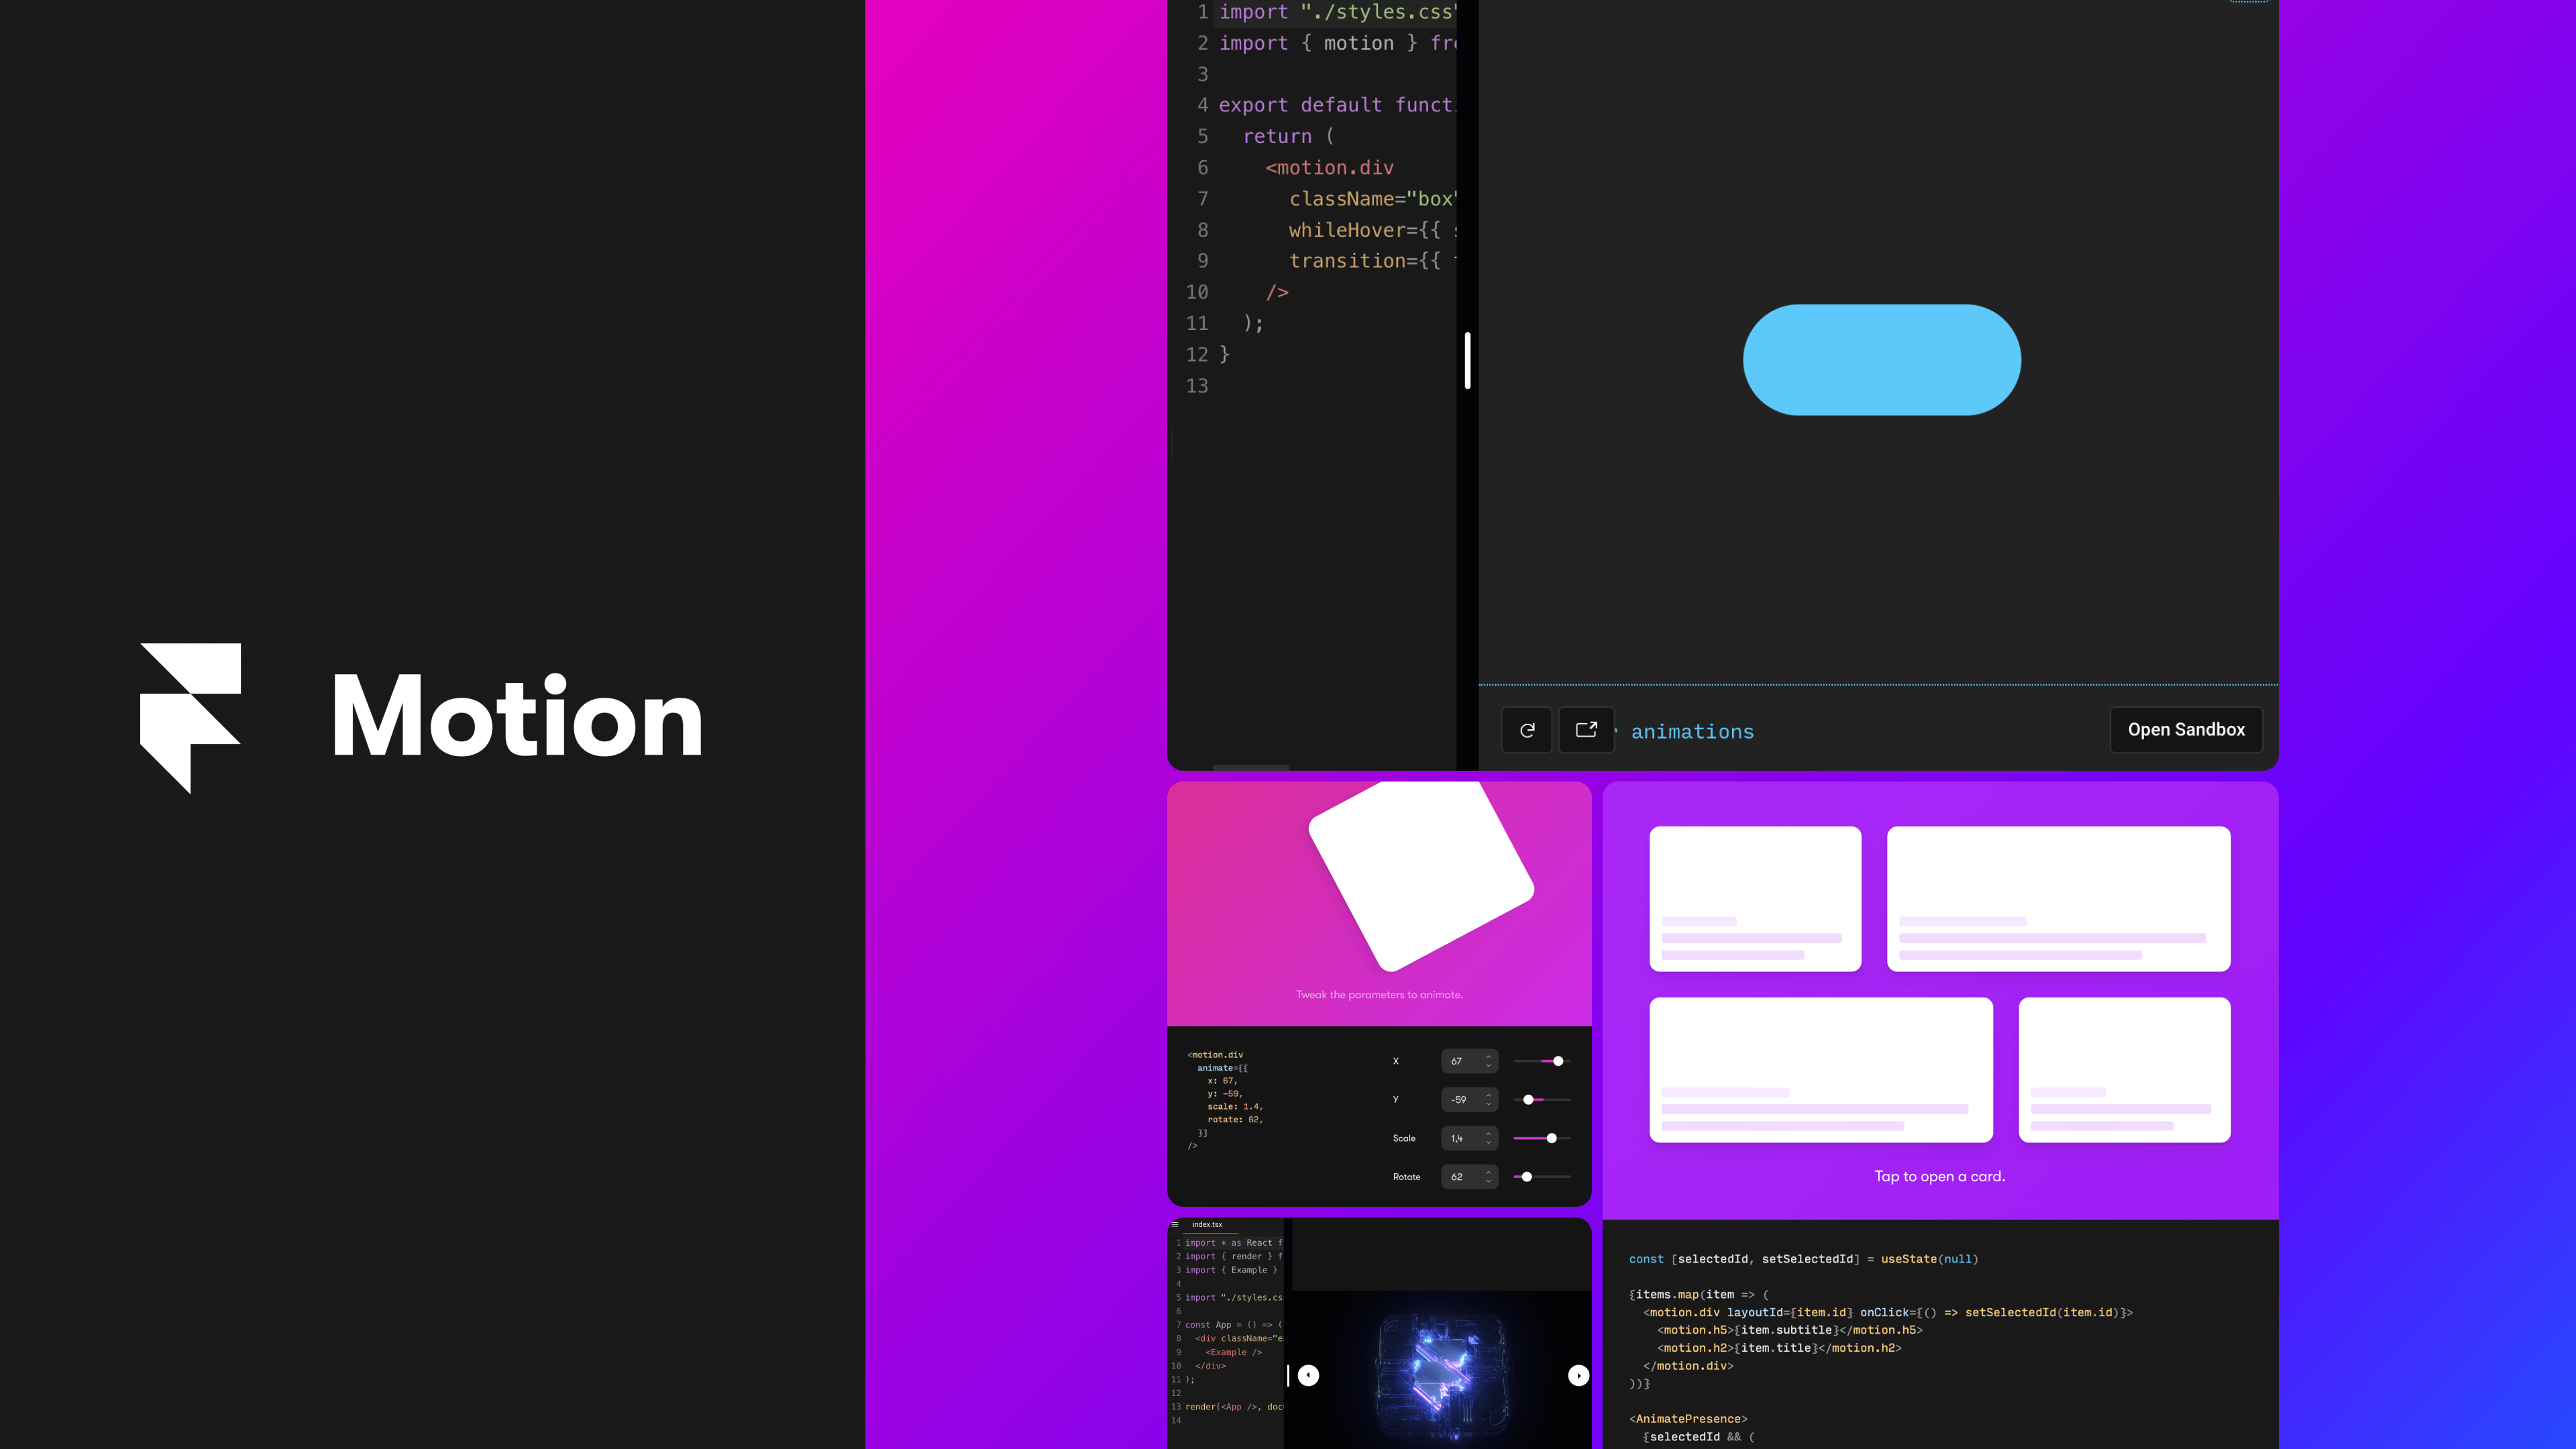
Animations are a very important aspect in creating modern web applications, especially when it comes to enhancing user experience or drawing attention to key parts of the application interface. Well-executed animations will improve the quality of the project, increase its appeal, and ultimately make users return more frequently. However, animation creation is not always easy. In this article, I share my experience with Framer Motion, an open-source library speeding up animation creation in React environment.
Types of animations
Animations can be divided into several basic types:
Fade in/out - The animated element becomes increasingly visible/invisible. This effect can often be seen while scrolling a website. An example of a Fade in animation:
Slide in/out - The animated element moves on the screen. Slide in/out animations are often combined with Fade in/out animations. An example of a Slide in + Fade in animation:
Rotate and Scale - Rotate animations are where the element rotates around its own axis, while in Scale animations the animated element decreases or increases its size. An example of an animation where upon hover the button increases its size, and upon click it rotates around its own axis:

These animations can be considered basic. However, there is nothing stopping us from combining these animations and creating more advanced and complex effects that will attract the user's attention and interest.
To create high-quality complex animations, we will most often need special, dedicated libraries that will greatly simplify and speed up this process. One such library in the React.js environment is Framer Motion.
What is Framer Motion?
Framer Motion is an open-source library that allows for easy and fast animation creation in the React environment. By utilizing the same concepts as React, it enables, among others, animating elements that are removed from the DOM tree, managing component state and their animation state through specially prepared hooks, creating custom hooks, or reducing bundle size through asynchronous animation loading.
The main and most frequently used components in the Framer Motion library are the motion components. As we can read in the documentation, “Motion components are DOM primitives optimized for 60fps animation and gestures.” In short, motion components are equivalent to regular HTML elements such as div, p, h1, button, enriched with special props allowing for easy animation.
The most frequently used props include initial, which allows us to set the properties from which the animation should start, animate - in which we specify the properties that our animated element should strive during the animation, and exit, specifying what should happen to the animated element when it is removed from the DOM tree.
Let's assume we want to have a blue square that changes color to green, increases in size, and rotates 360deg during the animation. To achieve this effect using Framer Motion, we need only a few additional lines of code.
As you can see, piece of cake! We set the initial values and those to which our element is animate and that's it!
As you can see in the above example, we used a property called transition. Thanks to it, we can easily specify, among other things, the type of animation, time, delay, etc.
There are several types of animations available. In our example, we used spring animations, which gave the animation a more realistic look. Animations can also be configured in many ways. We have the possibility to change properties such as mass, bounce, damping, stiffness, or velocity. For example, changing the mass property to a higher value will cause the object to emit a larger mass and the movement will be much more sluggish. The available spring animation properties can be checked here.
The above animation will start immediately when the element is rendered, i.e. after the page is refreshed. What about situations where we want our element to animate in response to scroll, i.e. only when it appears in our viewport? All we need to do is change the animate property to whileInView.
As you can see, we switched the animate property to whileInView. Our square starts animating only when it appears in the viewport. We also added the viewport once = true attribute so that our square wouldn't animate again when it was scrolled off and appeared again in the viewport. You can also see how the square behaves when we increase its mass property.
These examples were just simple single-element animations. What if we want the animations to apply to a larger number of components? Do we have to apply the animated object to each element we want to animate? And what if we want our elements to animate with a certain time delay from the last animated element? Do we have to work around the delay property every time? To answer this question, let's look at the variants property. Variants allow us to define animations that propagate throughout the DOM tree. Let's look at the following example.
As we can see in the example above, we do not set the animate property as a single object, but instead, we use the variants property.
We define the offScreen and onScreen variants and animate our list by changing the opacity. Then, we use the fact that these variants populate down the DOM tree and specify what should happen to each individual list item - the Square components. Additionally, by using variants, we have the ability to manage the children of the animated element, for example, by using the staggerChildren property. This will cause each subsequent element within our list to display with a specified delay from the previous one. You can read more about variants here.
The above examples only show the basic functionality that we get by using Framer Motion. I encourage you to familiarize yourself with the documentation and see what else the library has to offer.
I mentioned earlier that Framer Motion allows us to animate elements that are removed from the DOM tree. This is true, but we will discuss it in the next chapter.
Framer Motion in Next.js
Animating elements during their removal is very simple. All we need to do is wrap our animated component in a special wrapper called AnimatePresence. The wrapper allows us to delay the unmounting operation until the animation is finished, but if we want our component to be animated, we need to remember to define the exit animation.
To demonstrate how we can use AnimatePresence, we will create a simple application using the Next.js framework. The application will have two pages, and the transitions between them will be animated. So, let's create some Page Transitions.
Let's start by generating the project and installing the necessary libraries. The instruction to create a new project using Next.js can be found here. We will also be using TypeScript in the project, so I recommend generating the project with the --typescript flag.
Okay, we have the project, let's now install the necessary libraries. In addition to the Framer Motion library, we will also use Tailwind CSS, which will allow us to quickly style without having to create CSS files. To install the Framer Motion library, just paste npm i framer-motion in the console and install it. The installation of Tailwind is a bit more complicated, and the full instructions can be found here. Our interest is in steps 2-4.
First, let's edit our pages/index.tsx file. We will display a simple header and three cards that will be links to our next page. Each of the components will have animations defined using variants. To make the code easier to read in the case of a blog post, I will put everything in one file. The index.tsx file looks like this:
The mentioned cards are links to our second page, which we will create now. In the pages folder, add a file [id].tsx. On this page, we will have a short text along with a link returning to the Home page. The whole file looks like this:
If we now run the project, we will, unfortunately, notice that our animations do not work. This is due to the fact that we created variants onEnter and initial and assigned them to our elements, but nowhere did we define which specific properties our variants refer to, as in the example of SquareList above. We will do this now in a separate component.
Let's create a Layout component. Let's render the aforementioned AnimatePresence in it.
Our new component will be a wrapper for the entire application. There is a div element here that will animate our transition from one page to another. We define the previously mentioned variants here and assign them to the appropriate properties. We now know that variants have the ability of propagation deep into the DOM tree, so all elements have access to changes in variants until they define their own properties, such as animate.
During the onExit animation, in addition to changing opacity, we will use the clipPath property to create a cutout animation of our page from the left to the right. We must also remember that for an element to be properly animated before it is unmounted, we must give it a unique key property that will allow AnimatePresence to track the element's presence in the DOM tree. The newly created component is rendered in the _app.tsx file.
If we now run our project, we should see the following effect:
As you can see, we have successfully created a simple transition animation between pages. In addition, each of our elements has a Fade in and Slide in animation. I highly recommend experimenting with the available code and checking how it reacts to changes.
Final thoughts
As we can see, Framer Motion is a very easy-to-use library for creating animations in React. It provides a lot of components and functionality that significantly speeds up the animation creation process. Most of these were not discussed again, but I highly encourage you to familiarize yourself with them. It's also worth mentioning the well-written documentation that significantly simplifies the work.
Is it worth considering Framer Motion as a library for animation? Absolutely! However, before making a final choice, we must remember that despite Framer Motion being a great library, it has a lot of competition to consider, such as Gsap, React-spring, among others.
Check out also:
- Next.js - What Is It and Why Should We Use It? — See the pros and cons of using Next.js to decide if it's the right fit for your next project.
- Why is /App Directory a Big Step for Next.js? — Learn about the changes that Next.js 13 presented and why is it a big deal.
You may also like

The Cost of Waiting: How Refactoring Your Legacy App Prevents Massive Technical Debt in 2026
31 May 2026 • EL Passion

One Partner, Full Delivery: Why End-to-End Agencies Beat Fragmented Teams for Speed-to-Market
31 May 2026 • EL Passion

We’re available for new projects.
