


Chapters
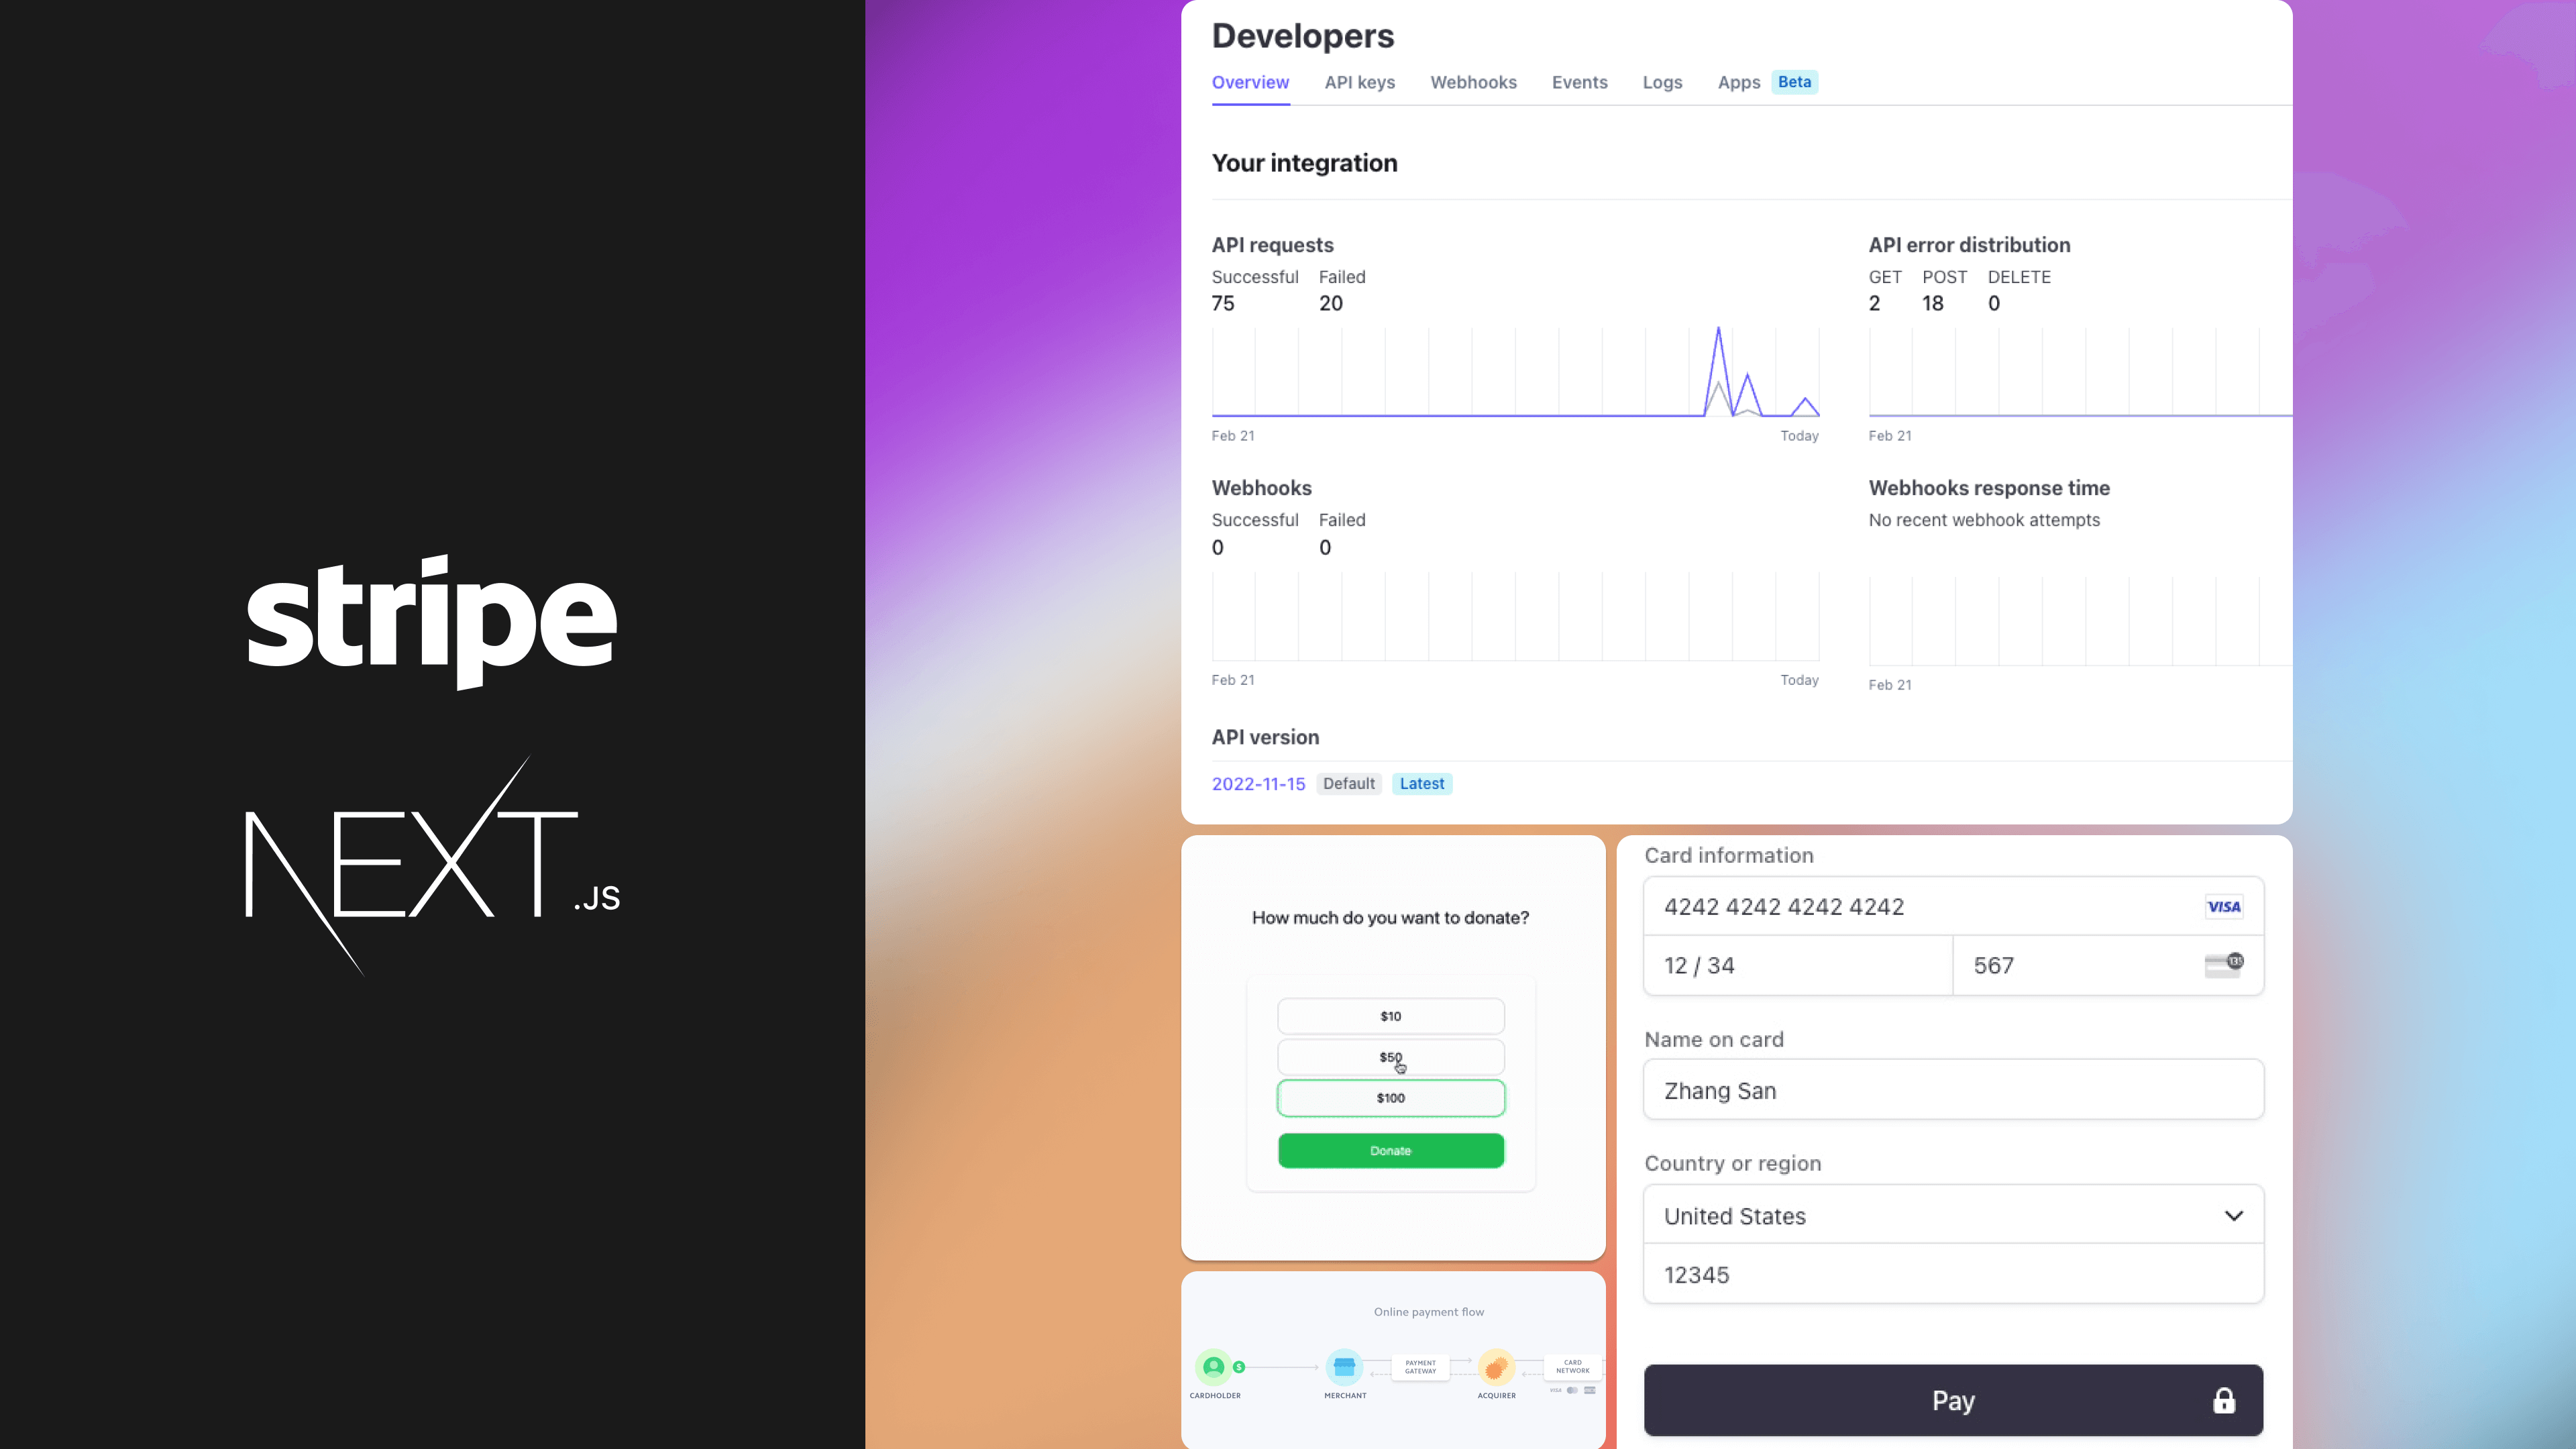
Learn how to create a simple donation button by integrating Stripe with a Next.js application.
Integration with various payment providers is very common. However, for someone who is new to this topic, the subject of payments can seem very complex and confusing. In this post, we will create a simple integration of Stripe with a Next.js application by creating a simple donation button.
What is Stripe?
In short, Stripe is a platform that enables online payment processing. In addition to standard credit card payments, we have the ability to use many other payment methods such as bank transfers, mobile payments, etc. Stripe itself divides payment methods into 8 different types, a full list with descriptions can be found here. Using Stripe also relieves us of the responsibility of storing users' private data, as the entire transaction process takes place directly on the provider's side.
But where do we start if we want to integrate Stripe with our application?
Creating Stripe account
Of course, we have to start by creating an account. We can find the registration form here. The whole process is completely free and does not require attaching a credit card. After logging in, we should make sure that we are in the so-called test mode.
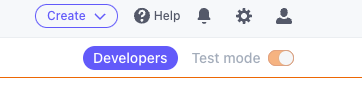 Stripe test mode
What is test mode? It is a special testing mode that allows us to test Stripe integration without actually making real transactions. We have the ability to use fictitious credit cards from any country where integration with Stripe is possible. Sample card numbers for specific countries can be found, for example, here. This allows us to simulate stripe payments without any financial risk.
For us, the developer panel tab is very important at the moment. After clicking the Developers button, we will be taken to a panel that looks like this:
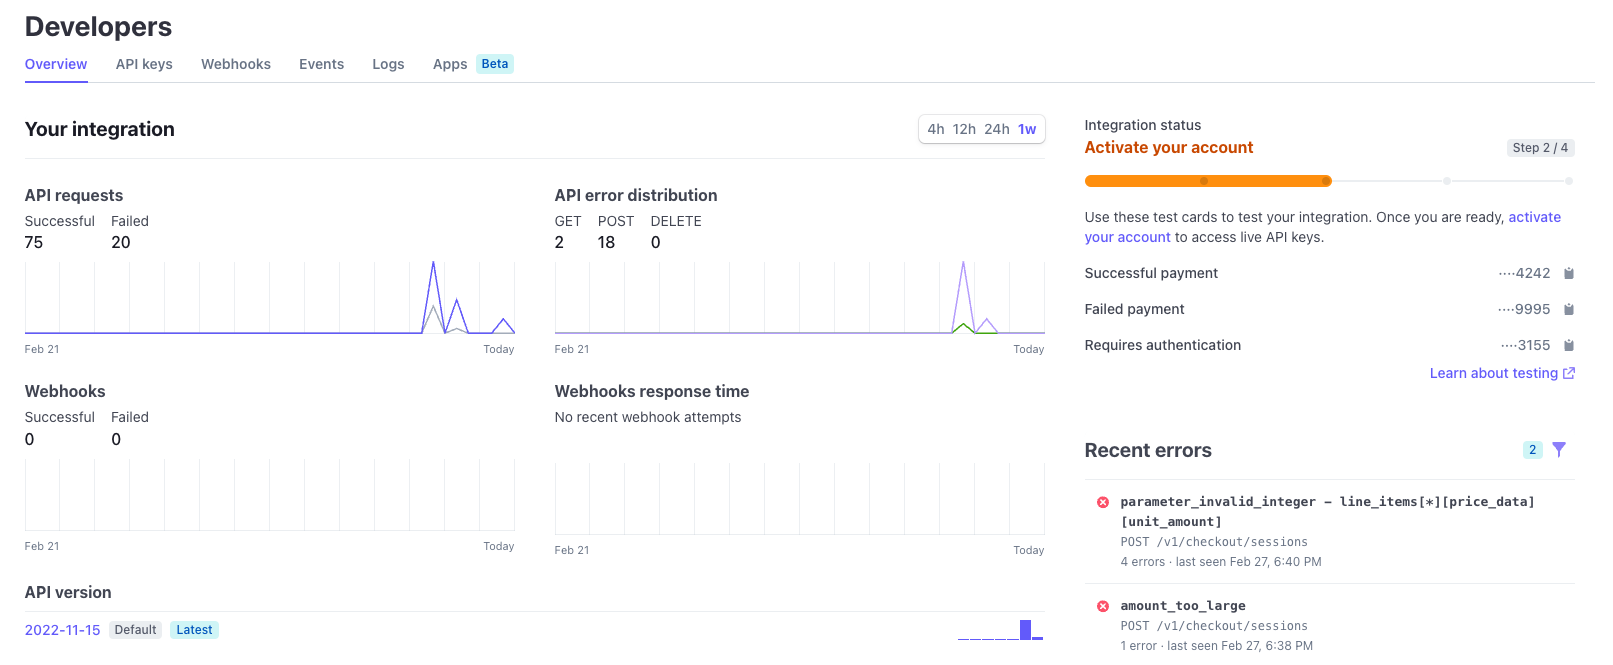 Developer panel
There are various statistics of executed requests etc. On the right side, there is a section called Recent Errors, which contains information about the latest errors that occurred during transaction execution. By clicking on a sample request with an error, we can see not only information about the type of error but also the request body that we sent and the response that was returned. This positively affects the developer experience and makes the integration process easier.
Stripe API keys
In the API keys tab, we should have access to both the Publishable and Secret keys. They will be required for the integration with Stripe.
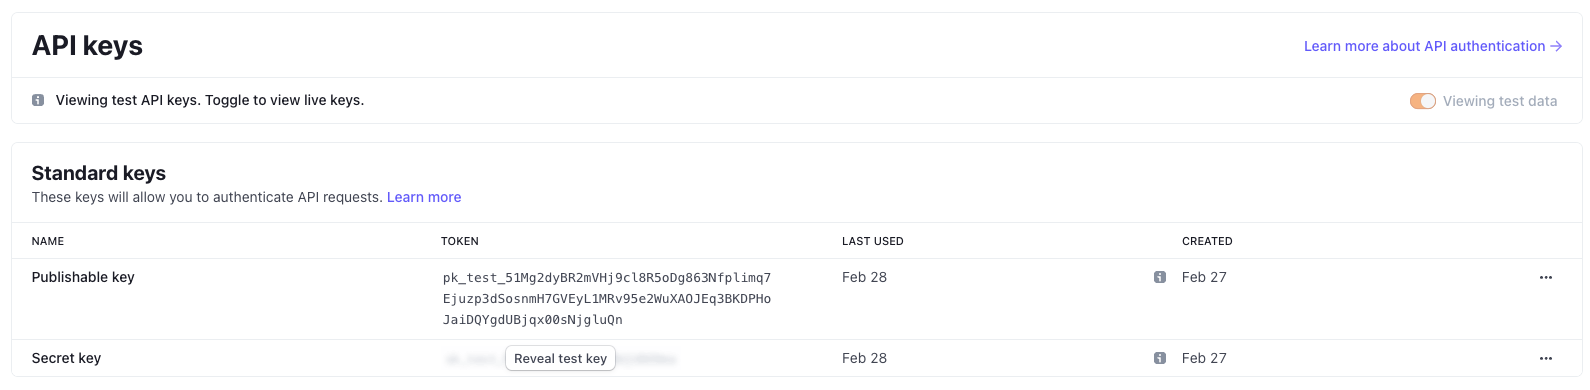 API Keys
Okay, we have our account. Let's jump into the code now.
Next.js setup
Before we start the integration, we first need to set up our project. In addition to Next, we will be using Tailwind CSS to quickly style our components. On the Tailwind website, we can find a complete, six-step instruction on how to install Next.js with Tailwind. After completing steps 1-4, we can run our project with the command npm run dev. We should see the home page at localhost:3000.
Great, we have that set up! For the Stripe integration, we will need a few things more. Firstly, let's install the necessary libraries with the command npm install stripe @stripe/stripe-js.
Secondly, let's create a .env.local file and add our API keys, which we can obtain from the Stripe dashboard.
 .env file
We will be using two types of keys, secret and publishable. The secret key will be needed for server-side operations such as creating a session, while the publishable key will be used in the browser. Therefore, we need to remember to use the prefix NEXT_PUBLIC in the environment variable name. This will automatically expose the environment variable to the browser. Remember not to share your API keys with anyone!
Creating a Stripe checkout session
To enable users to make payments in our application, we need to somehow authorize them. Stripe has prepared a special API that allows us to create sessions for each payment in a very simple way. However, for the whole process to be as secure as possible, we cannot do this in the browser. We need to add a new endpoint in our API that will return the created session object. This endpoint will handle the stripe payment process securely on the server side. Thanks to the fact that we use Next.js, we can use the so-called API Routes to build our own API.
In the /pages/api/checkout folder, let's add a new file named session.ts.The whole thing looks like this.
Let's divide the entire code into several elements and discuss them one by one. At the very top, in lines 4 to 6, we initialize the stripe object to which we need to provide our secret_key.
Then from line 8, our API Route begins. Every request that hits the /api/checkout/session address will go through this handler, so we need to remember to handle the appropriate HTTP methods such as GET, POST, etc. However, in our simple example, we won't worry about this.
To allow the user to make a donation, we need to know the specific amount we are talking about, so every request must contain the amount property. We extract it from the body of our request, and below we check if it has been provided.
If everything is okay, we create a new session using the stripe.checkout.sessions.create method. As parameters of the method, we provide information about what the user will see on the payment screen. We specify the available payment methods, the items that the payment concerns, and the success_url, cancel_url, specifying the addresses that the user should be directed to after a successful or unsuccessful transaction. In our case, it will simply be the homepage of our application.
The stripe.checkout.sessions.create method will return us a session object that will contain a lot of information. In our simple example, we only need the session id, which we return in the response. So the prepared API Route will create a session for us and then return the id, which will be useful for redirecting the user to the appropriate page after clicking on the donation button.
Donation form with Stripe payment integration
We have our endpoint, let's create a simple form where users can choose one of three available donation options. This form will utilize stripe checkout to provide a secure and seamless payment experience for users. Let’s create a folder called components in the main directory of our project and add a file DonateButtons.tsx to it.
This is a simple component that takes an array of available donation options and renders radio inputs based on them. Now, let's create our form and render the available donation options in it. In the components folder, let's add a file DonateForm.tsx that looks like this:
At the beginning, we use the stripe-js library to fetch the Stripe object. We need to provide our publishable_key to the loadStripe function, which we added earlier to the .env.local file. In the component, let’s create a new form where we render our buttons along with a submit button. The form takes our handleSubmit function as the onSubmit method, in which we make a request to our session endpoint.
At the beginning of the function, we get the amount value from our form using FormData, and then we make a request to the /api/checkout/session endpoint. As we may remember, our endpoint returns the id of the newly created session. We can now use the obtained id in the stripe.redirectToCheckout method to redirect the user to the appropriate transaction page. At the end let's render the created component in the /pages/index.tsx file.
After launching the project, we should see our donation form working.
 Donation form
We can now test it using the fake credit cards mentioned earlier. Each payment made will also appear in the payments tab on the Stripe website.
 Succeeded payment
Final thoughts
As you can see, integrating with Stripe is not one of the most difficult tasks. Of course, the example we created is just a simple donation form, but you can already see how developer-friendly Stripe itself is. The dashboard gives us full control over the transactions made, which greatly simplifies, for example, the debugging process. In summary, in my opinion, Stripe is a great payment-handling tool for online projects of all sizes, and it is definitely worth considering.
Check out also:
- Why is /App Directory a Big Step for Next.js? — Learn about the changes that Next.js 13 presented and why is it a big deal.
- Page Animations in Next.js - What is Framer Motion? — Learn about Framer Motion, a powerful React library for animations.
You may also like

The Product Health Check: How to Find Performance Bottlenecks Before They Cost You Users
5 July 2026 • EL Passion

Staff Augmentation vs. Managed Teams: Which Model Saves You More on Long-Term Overhead
5 July 2026 • EL Passion
The Cost of Waiting: How Refactoring Your Legacy App Prevents Massive Technical Debt in 2026
31 May 2026 • EL Passion
We’re available for new projects.
