


Chapters
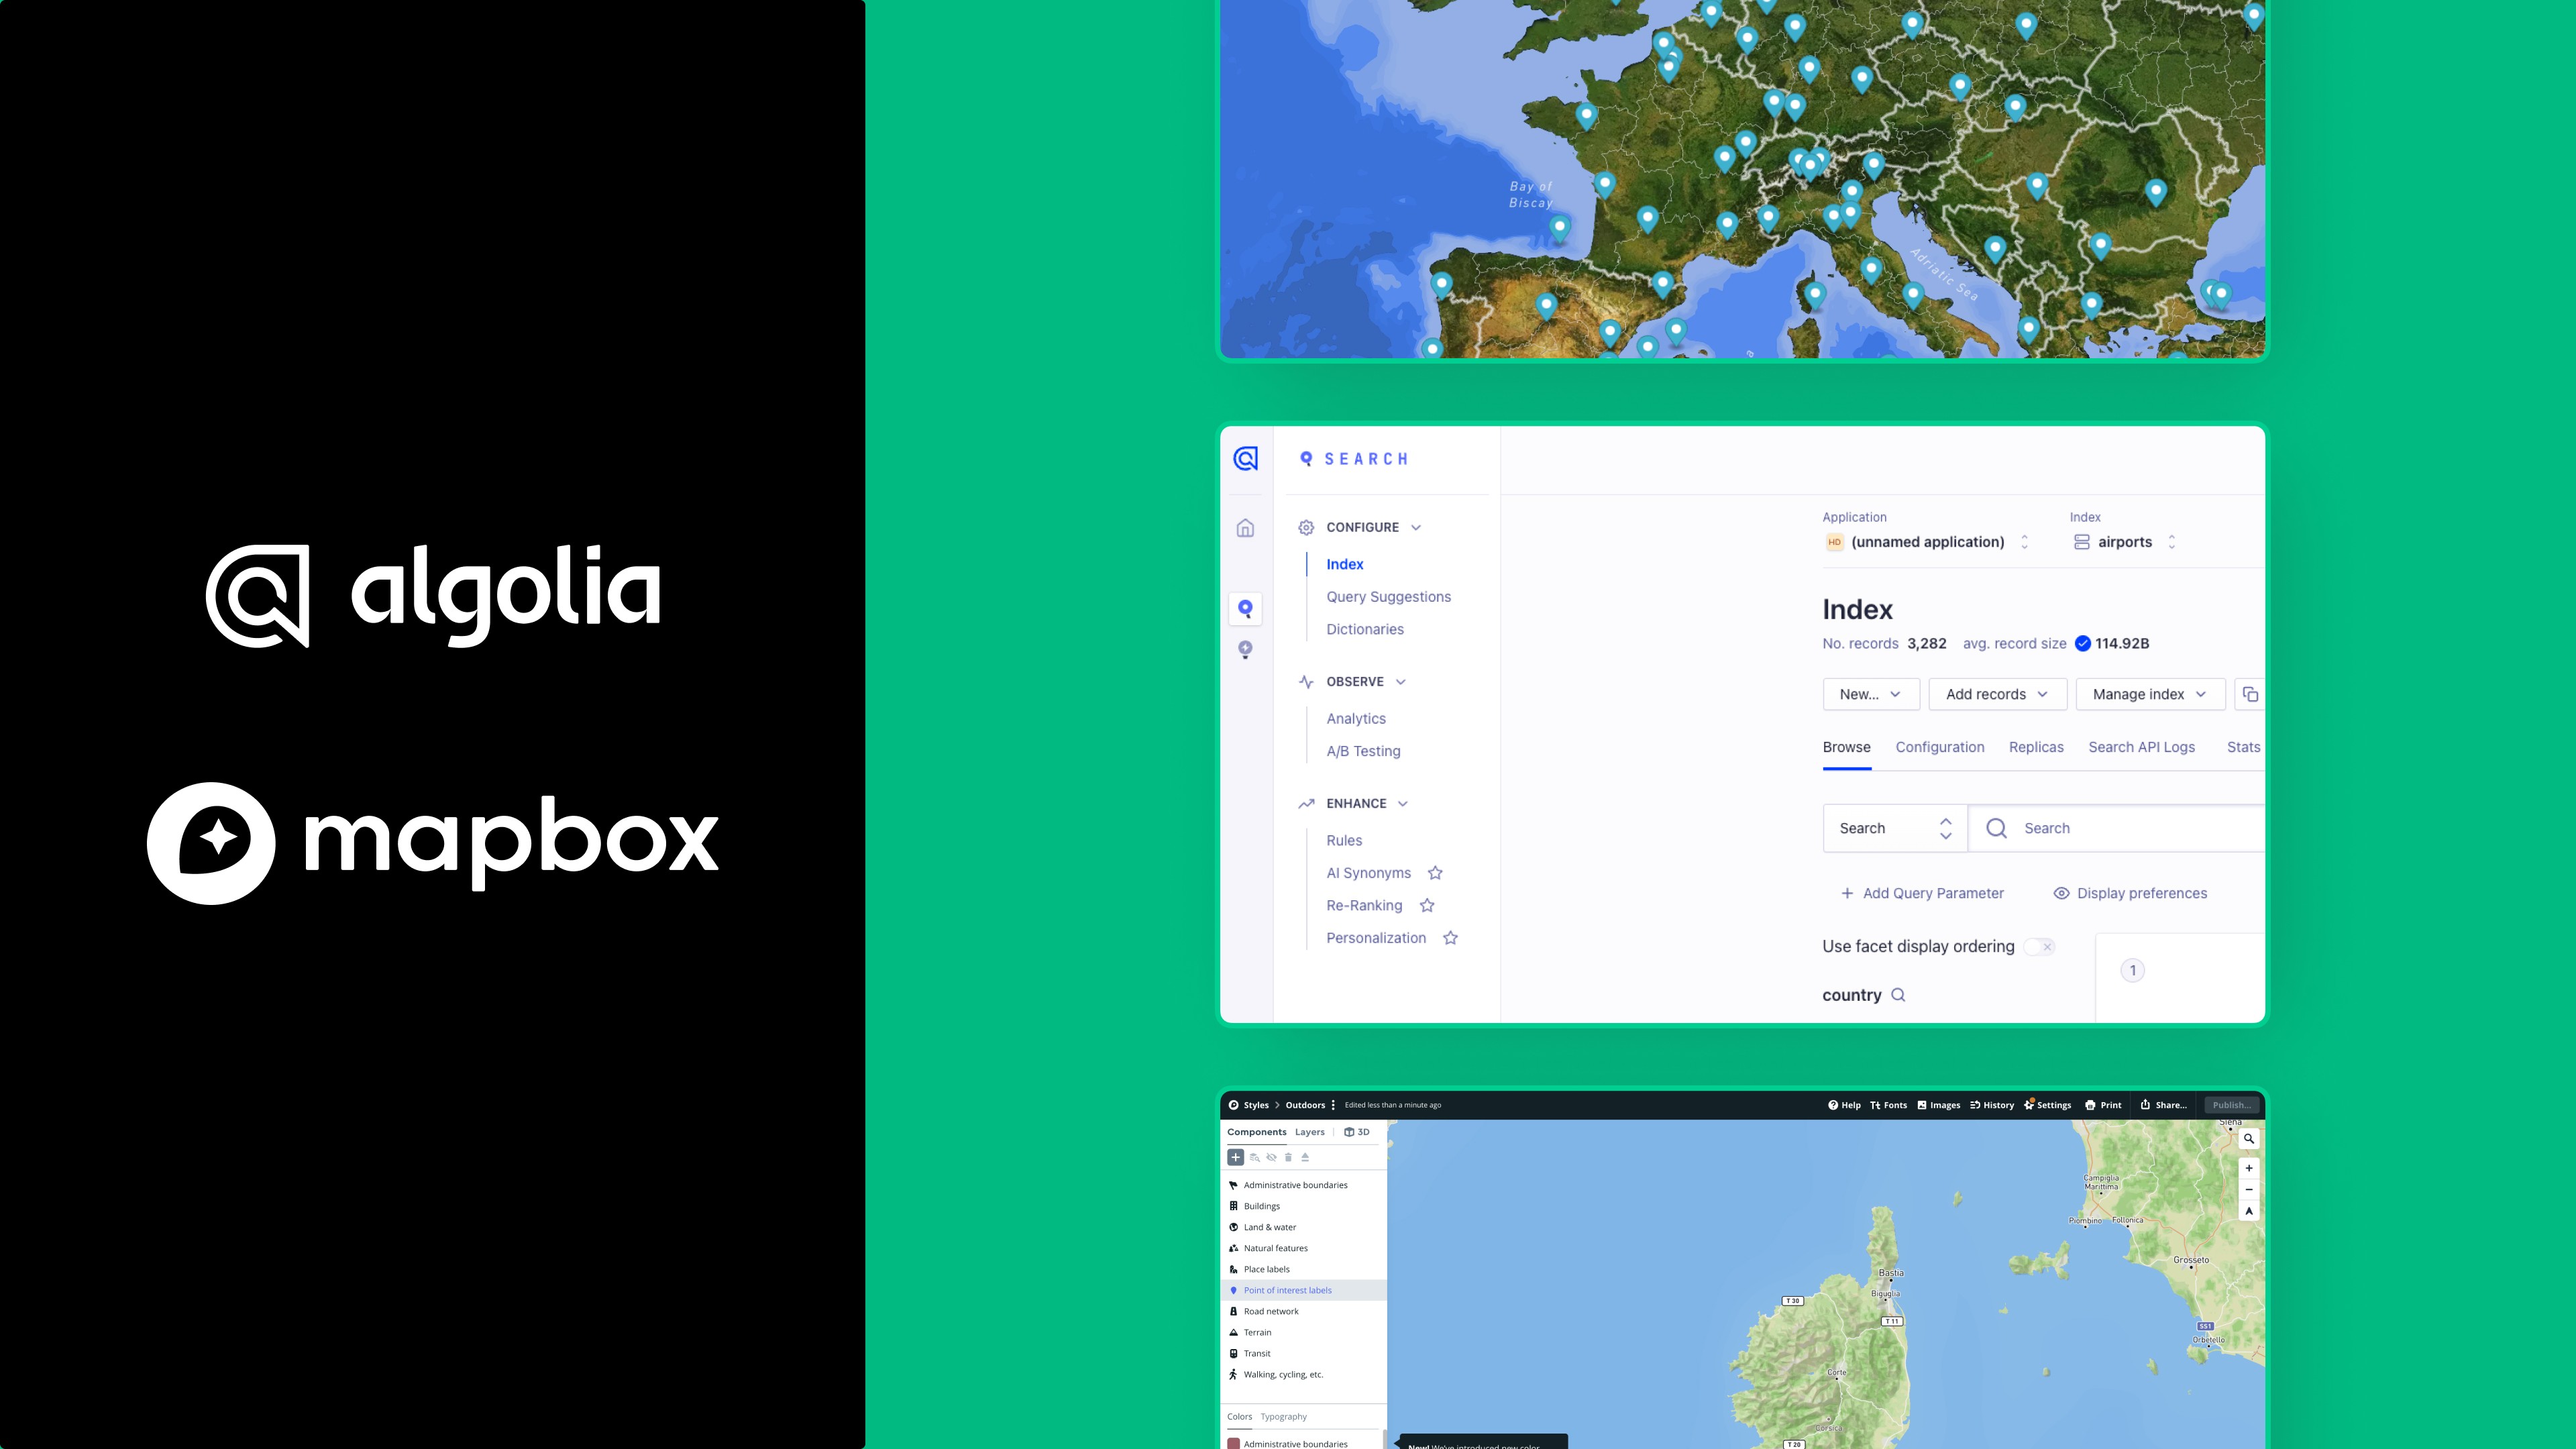
See how to display data and implement Geoserach on MapBox map using Algolia.
In the previous article: Custom Maps in Web Applications Using Mapbox and Mapbox Studio, we discussed how to create a custom map style using Mapbox Studio, and then integrate Mapbox with a project written in Next.js framework using the Mapbox GL JS library.
In this article, we will build on that knowledge and talk about how to display data on the map based on our geographical area using Algolia.
What is Algolia?
To start with, let's explain what Algolia is. In short, Algolia is an internet service provider that focuses on data storage and online search engine handling. It is particularly useful in situations where we are looking for a quick delivery of specific features like searching, recommendation etc.
Thanks to the use of AI algorithms, suggestions, and search results become better with each user query, which makes the Algolia engine very fast in responding to requests. Additionally, it provides functionalities such as personalized search results, a recommendation system, and data analysis.
Developers are increasingly choosing to use Algolia in their projects because it allows for very fast delivery of search engines and recommendations without the need to create the necessary infrastructure from scratch. This is a very good option in applications such as e-commerce.
Why do we need Geo Search?
Geo Search, as the name suggests, is closely related to geographic coordinates and searching. As we already know, Algolia offers services related to search engine handling, and thanks to functionalities such as Geo Search, it provides the ability to sort and filter our results based on geographic coordinates. We can also filter our responses based on the user's coordinates (based on their IP) or the coordinates of a geographic area (bounded boxes).
In order for Algolia to be able to filter based on coordinates, our data must meet one requirement. Specifically, each object must have an attribute named _geoloc, which will store the location information in the form of latitude and longitude.
Registration and data filtering in the Algolia Panel
Before we begin using Algolia, we must first create an account. So, go to the website and register. Algolia offers a free plan in which we can make up to 10,000 requests per month without attaching a card.
After registering and logging in, we will be prompted to create the first index. An index is a place where the data is stored. We can create many indexes. This way, in situations where, for example, we want to set up searching for two data types separately or use different ranking strategies for each of them, we can easily achieve this by multiple indices.
 Source: Algolia
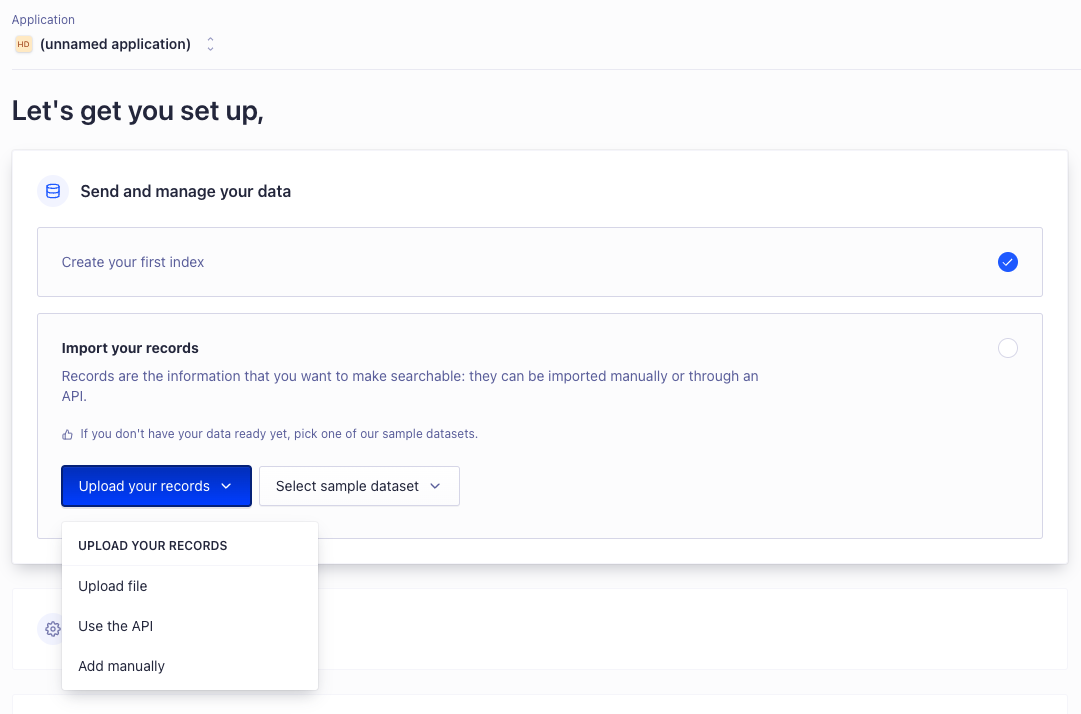
After a short while, we will be prompted to import data. So click on Upload your records. As we know, in order for Geo Search to work, every object should have a _geoloc field. So we need data that will meet this condition. Let’s click on Add manually and add some sample data. Remember that the data must be in JSON format.
To better demonstrate the operation of Algolia and Mapbox, in our case, we will use a ready-made dataset available on the Algolia Github. This is a set of major airports in the world. Copy the data from the JSON file and paste it in the appropriate place.
If everything goes well, we will be transferred to the main Algolia panel.
 Source: Algolia
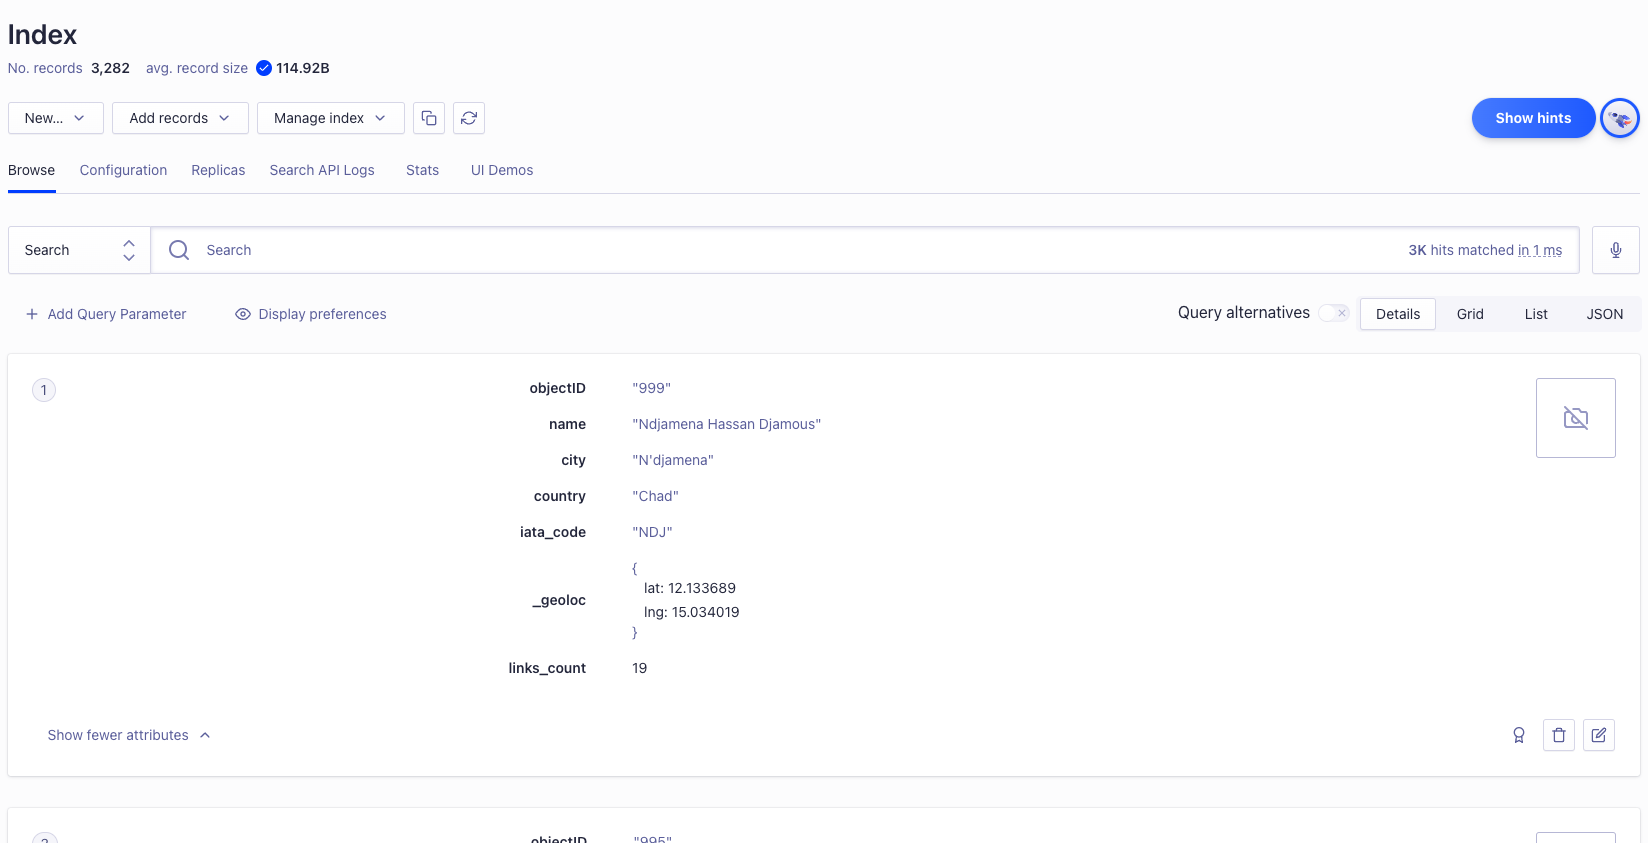
As we can see from the attached screenshot, the main Algolia panel provides us a lot of options. I recommend browsing through the available options and checking for yourself what Algolia offers. In our case, we will focus only on things related to filtering by coordinates because we don't want this article to be 80 pages long.
Each record in our database has a _geoloc field. This way, the Algolia engine will be able to filter data based on the given criteria. However, before we do that, we have to inform Algolia about the specific fields on which we want to filter our data.
So, go to the Configuration -> Searchable attributes. Then add our _geoloc.lat and _geoloc.long attributes to searchable attributes and save.
Integration of Algolia, Mapbox, and Next.js
Let's jump to the code now. As I mentioned at the beginning, as a basic setup we will use a project created in the previous article available here: Custom Maps in Web Applications Using Mapbox and Mapbox Studio. If you're not interested in how to create your own map style from scratch, you can skip the first chapters and go straight to the part related to the code.
Okay, we have our project. Let's start by installing the necessary libraries. The most important thing we need is Algolia’s JavaScript API Client. This is a library that will allow us to communicate with Algolia's APIs from code level. Additionally, we will also install the React-Query library which will give us access to hooks that provide data fetching and caching, among other things. It's a great library and I highly recommend checking it out.
First, create the AlgoliaApi class that will be responsible for communication with the Algolia API. For now, we will only need methods for retrieving data, but there is nothing to stop us from expanding the class in the future to also include methods for uploading or updating data. So let's create a /api folder in the main directory of our project, and within it, a file called Algolia.ts. In order to communicate with Algolia, we first need to create a client with the appropriate appId, appKey, and indexName. However, we don't want to do this directly in our class because we want to be able to use multiple Algolia datasets in the future.
So let's accept a SearchClient and an indexName as parameters in the constructor of our class and initialize the index.
Let's also create a method called getAirports, which will use the Algolia client to retrieve data from the Algolia service. It takes one parameter, a boundingBox (the geographical edges of the visible area on the map), which we will retrieve dynamically from our map as we move it.
Let's also add basic types and interfaces. The whole file should look like this.
Okay, we have our API class. Let's now create a hook where we will use it. We will use the previously mentioned React-Query for this. However, in order for react-query to work, we need to wrap our entire application in the QueryClientProvider. We can do this in the _app.tsx file.
In the Api folder, let’s create a file called hooks.ts, and inside it, the hook called useAlgolia. At the beginning, create an instance of our AlgoliaApi class with the appropriate arguments - algoliaClient and indexName. AppId and AppKey are configuration variables that can be found in the main Algolia panel in the Settings -> API Key. IndexName, as the name implies, is the name of our index. Let’s also create a method called useAirportsData which is a wrapper around the useQuery hook provided by React-Query. As the queryFn, pass the getAirports method from our AlgoliaApi. The hook should look like this.
We have almost everything. Let's create one more hook called useDebounce. I'll explain why we really need it later. In the main directory, create a folder called utils and inside it, the previously mentioned file. The whole file should look like this.
So, we have our API class, we have a hook that will get us data, we can now move on to our map component. Compared to the previous article, we will have to make a few changes.
On the React-map-gl library page, we can check what props the Map component can take. There are many of them and I recommend checking them out on your own. In our case, we will focus on the prop called onRender. The callback will be executed every time the map is redrawn on the screen, which is exactly what we need to get the current map bounds. So, create a function called onRender in which we extract the current map bounds from the event parameter. Then, update our state, remembering to use the correct order.
I said earlier that we would return to the useDebounce hook. Let's do it now. Because each map movement will trigger the onRender callback several tens of times, then update our state, which will trigger a request to the Algolia server, we need to optimize this in some way. When moving the map, we don't need to make a request on each invocation of the onRender function, but only on the last one, just before the map stops. For this case, our hook is ideal. You can find more information about debouncing here.
The last thing we need is basically render the data we've retrieved and display it on the map. We will use our useAlgolia hook for this, from which we will import the useAirportsData function and pass our map geographical bounds to it. To render the results on the map, we will use the Marker component from the react-map-gl library. Both the onRender function and the generation of our markers will be wrapped in useCallback and useMemo to prevent unnecessary re-renders. The whole component should look like this.
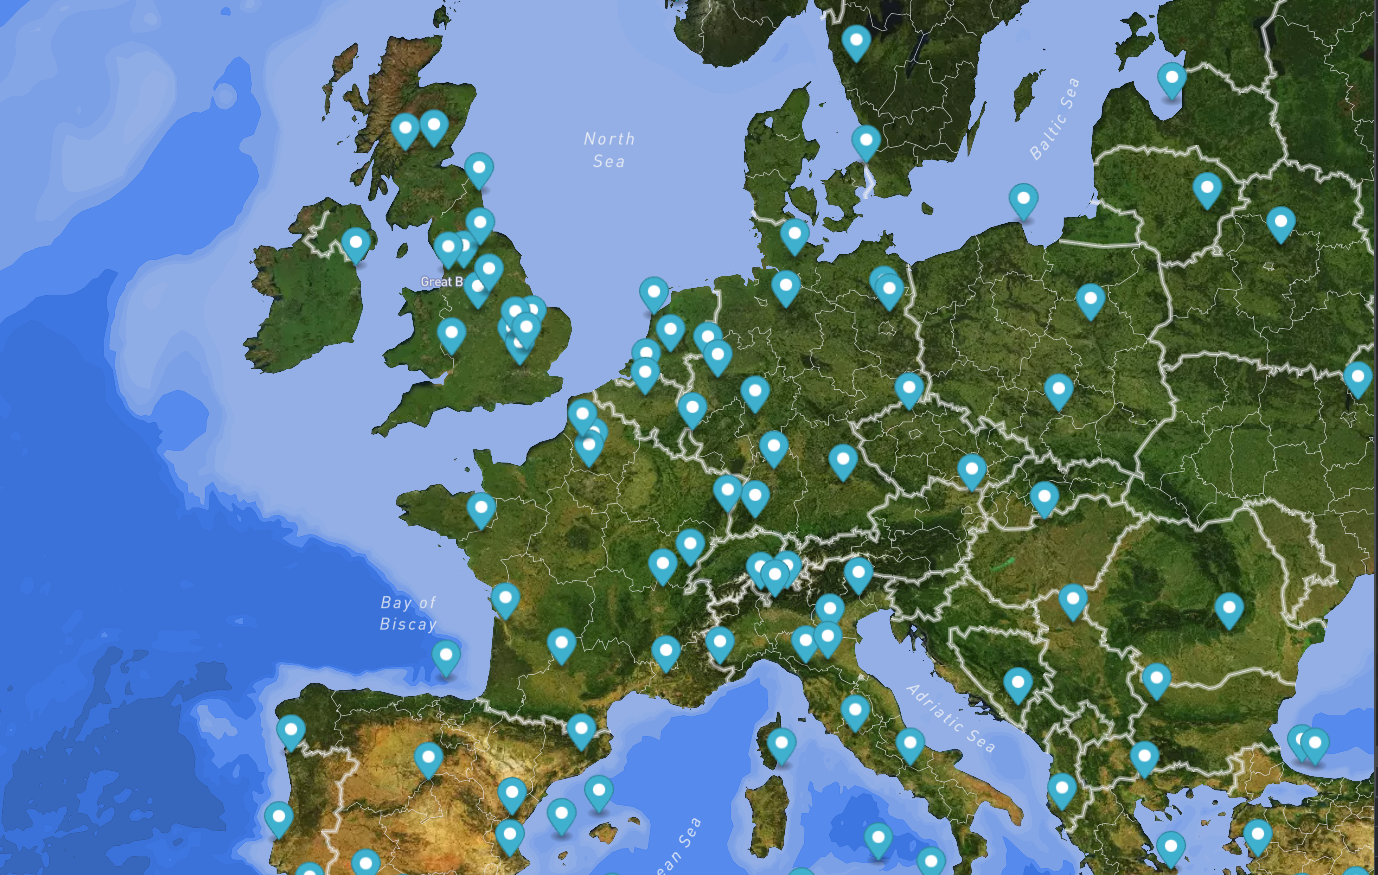
This is how our map with downloaded data looks. When we scroll, we can notice that data is only downloaded from the area that we currently see on the map, and that is exactly what we wanted!
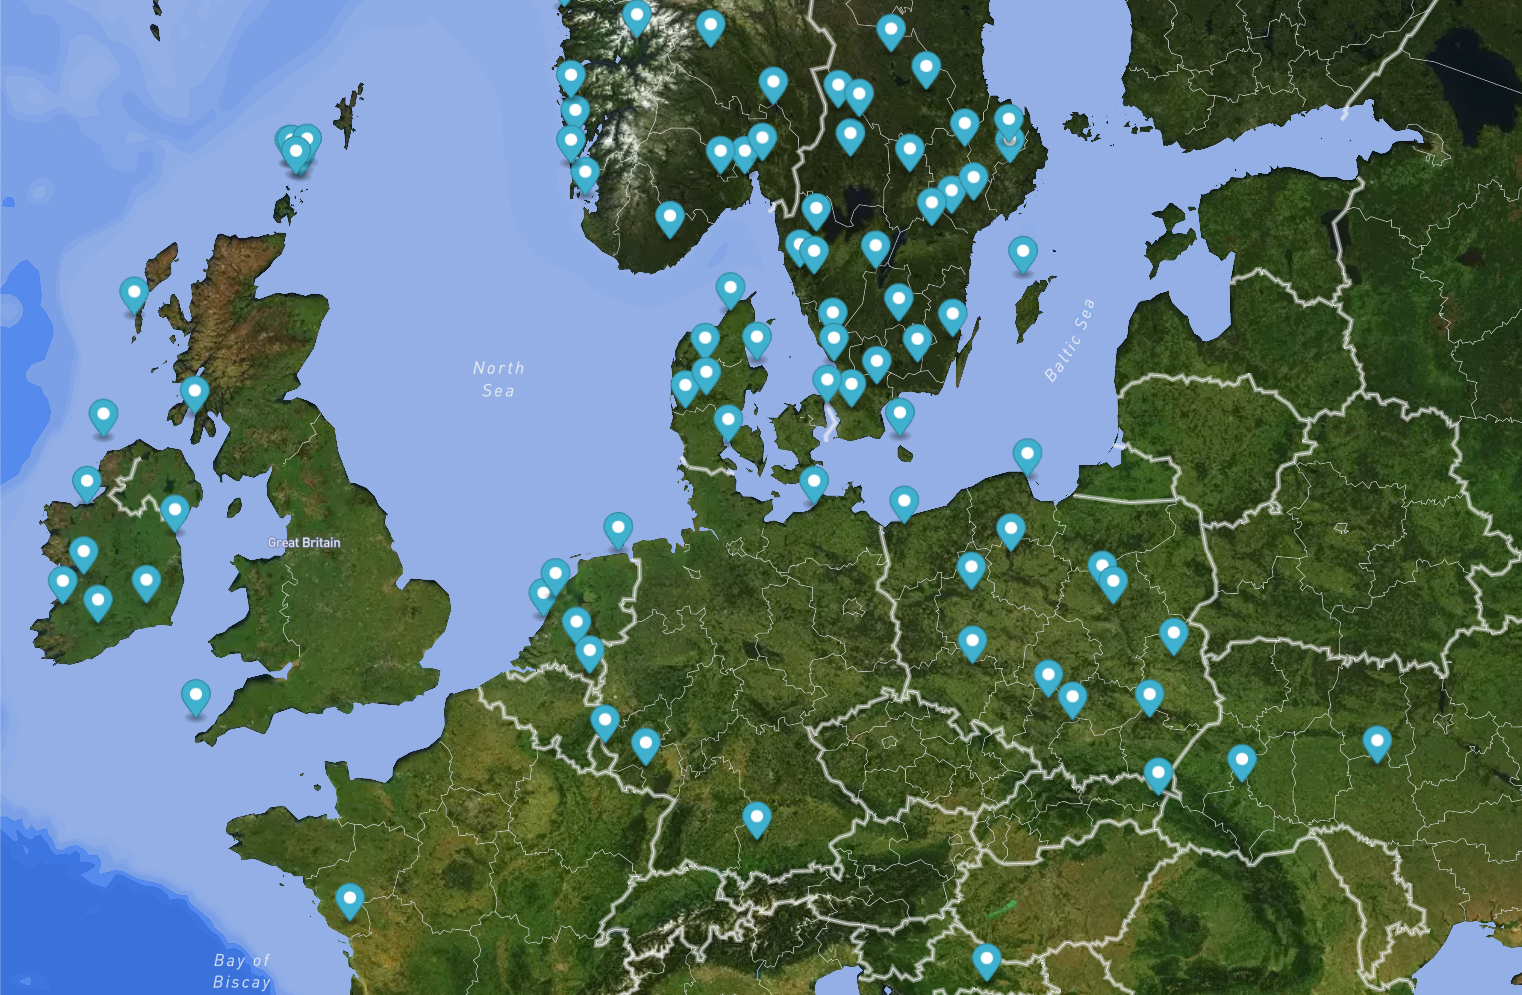
But wait, we can see that our data is displayed in a slightly strange way. We are displaying a lot of airports in one country and only one in others, like France for example. We have to somehow sort our results. Luckily, in Algolia, it's very easy. All we have to do is go to Configuration -> Ranking and Sorting and by pressing the Add sort-by attribute button, add the links-count attribute to the attributes that we sort our data by. As we can see below, the airports are displayed in a better way.
Final thoughts
As we can see, Algolia is a very cool and simple tool, and the setup in the JS environment is very easy. However, we must remember that the things shown in this article are just the tip of the iceberg of the functionality that Algolia offers us. It is worth reviewing the documentation and checking what else the Algolia team has to offer. Especially pay attention to the part related to Search UI, as Algolia not only allows us to manage search results, etc., but also enables us to build an entire UI based on searching and creating our own widgets.
Check out also
- Custom Maps in Web Applications Using Mapbox and Mapbox Studio — A step-by-step guide on how to create custom maps using Mapbox and Mapbox Studio.
- Next.js - What Is It and Why Should We Use It? — >Next.js is a renowned framework tested by big names like Nike or TikTok. See the pros and cons of using Next.js to decide if it's the right fit for your next project.
You may also like

The Cost of Waiting: How Refactoring Your Legacy App Prevents Massive Technical Debt in 2026
31 May 2026 • EL Passion

One Partner, Full Delivery: Why End-to-End Agencies Beat Fragmented Teams for Speed-to-Market
31 May 2026 • EL Passion

We’re available for new projects.
